Big Green Egg Cooking Class with Ad and Keith Taylor
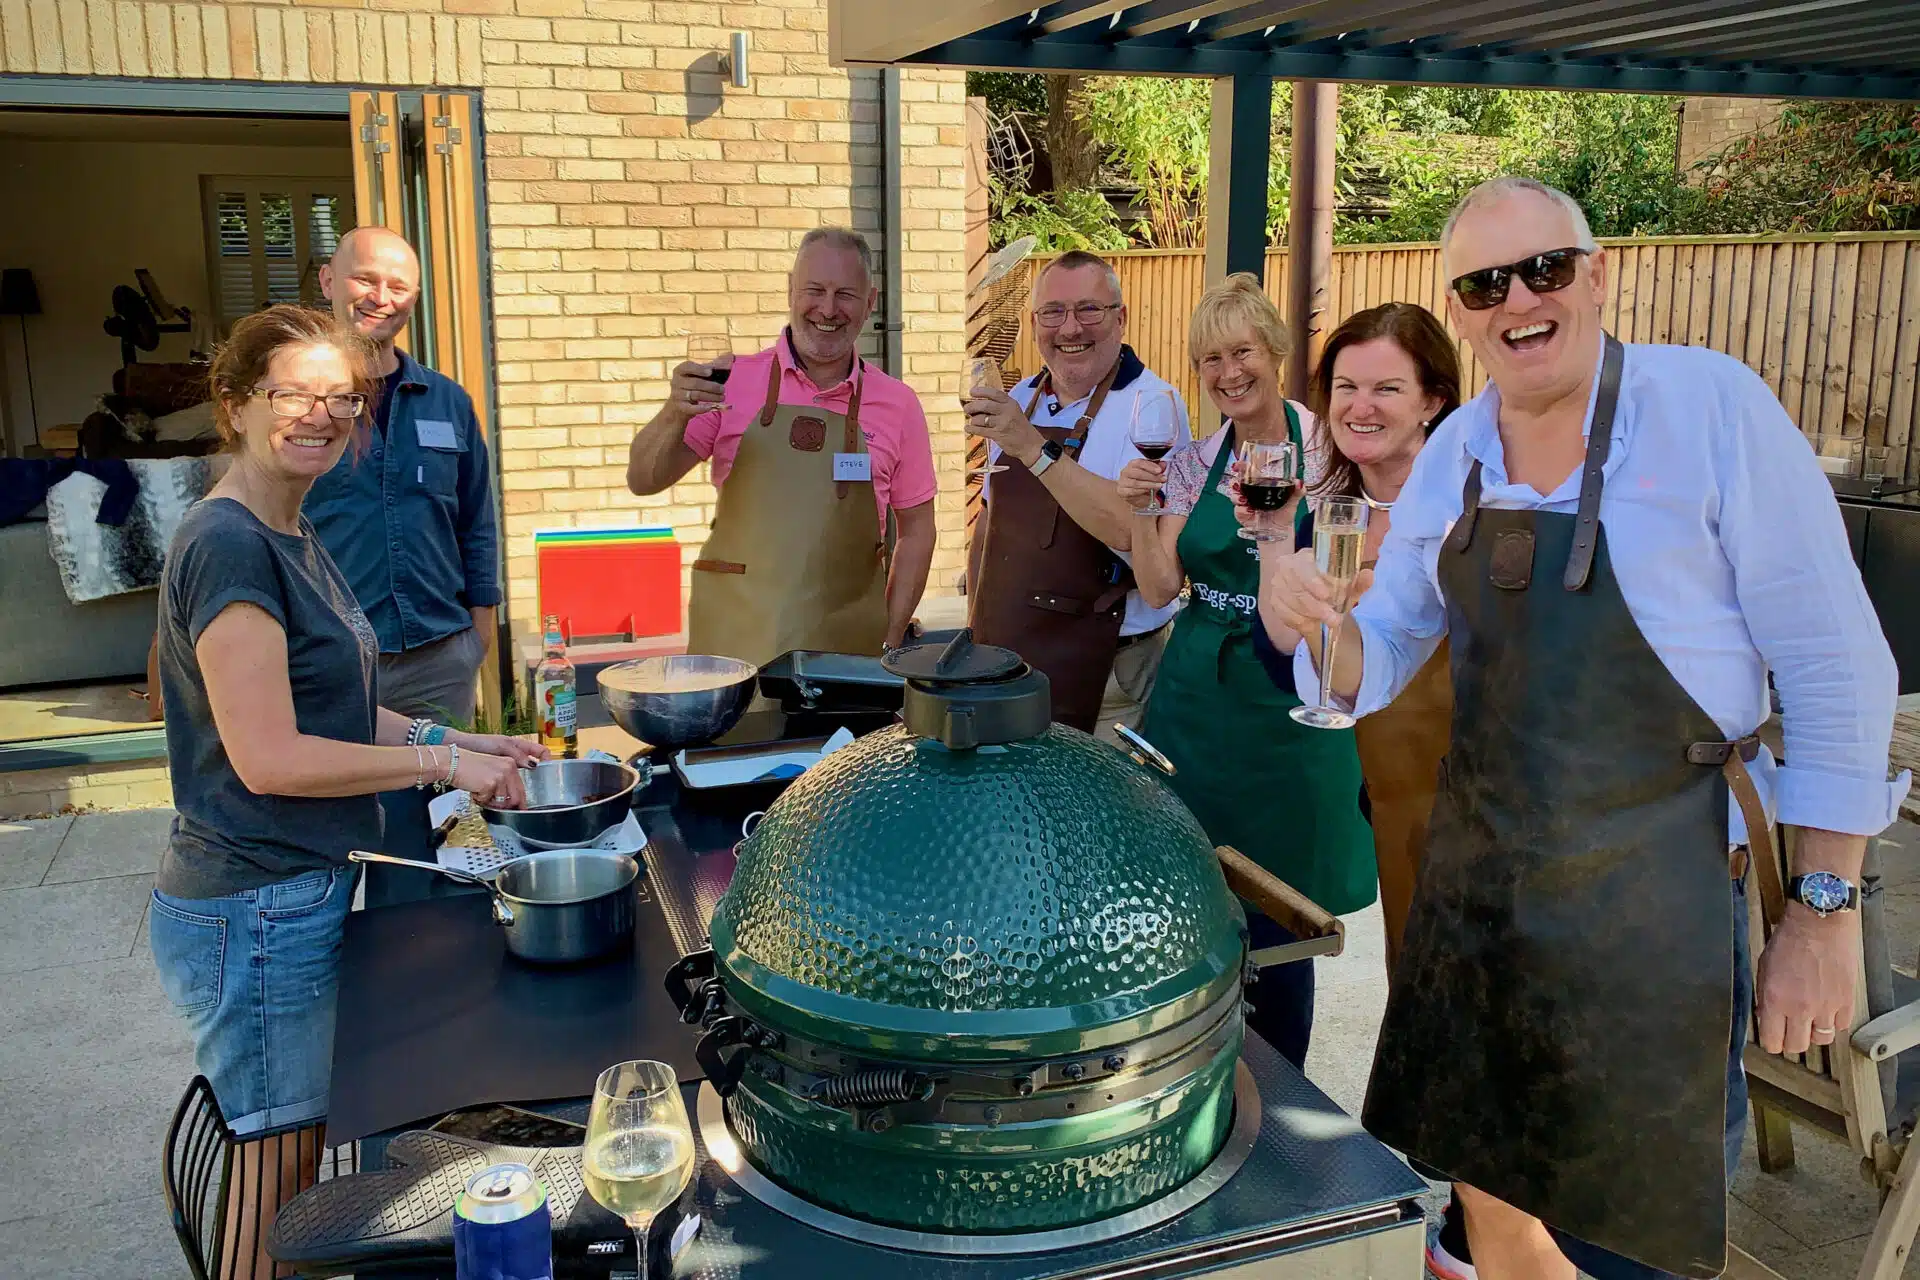
The following are notes from the Big Green Egg cooking class held on 23rd July 2016.

Recipes
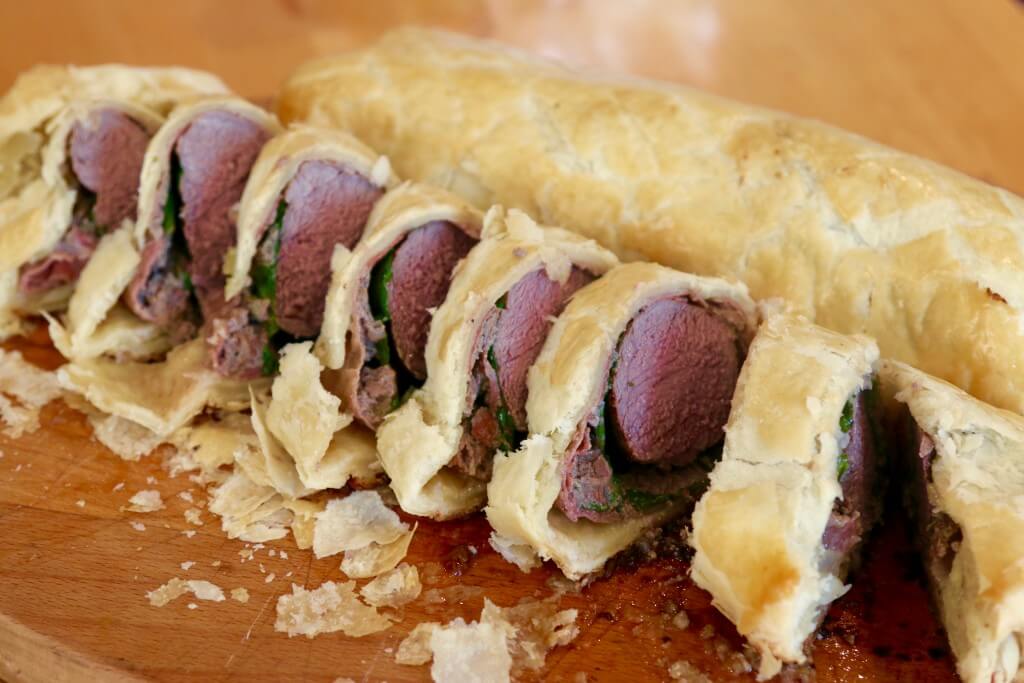
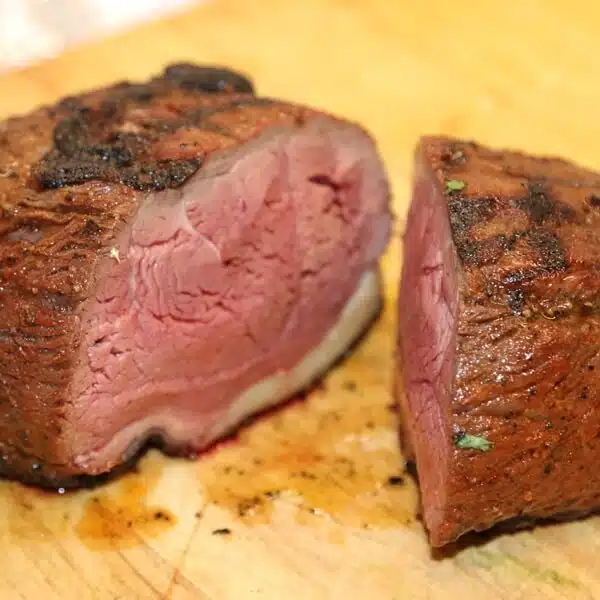
Picanha
The technique we used here was a reverse sear where we slowly raised the temperature of the whole piece of meat by cooking it at 110°C until it’s internal temperature was 53°C (5°C below medium rare). We then fired up the BBQ to about 250°C and seared the outside of the picanha before resting it for about 15 minutes and serving in slices.
During this cook we used the a Maverick wireless thermometer to tell us both the temperature of the Egg (110°C) and the temperature of the meat.
The initial cook was indirect, we used the plate setter feet up with the stainless grid on top. To that we added the meat and cooked slowly until the core temperature reached 53°C (5°C lower than the temperature we were aiming for as the last 5°C would be achieved when we seared the meat).
We then removed the plate setter and opened the air vents to raise the temp to 230-250°C. We used the cast iron grid to sear the Picanha for about 3 minutes on each side.
Roast Cauliflower
The technique here was to cook on the back side of the plate setter. All I did was wipe down the back of the plate setter with a dry paper towel.
We setup the Egg to cook at 180-200°C with the plate setter in feet down.
I cut the cauliflower into about 7mm thick slices all the way through the cauliflower. I removed most of really thick bit of stalk after cooking. I added a touch of oil and some maldon salt to the slices (on both sides) and placed them directly onto the plate setter. We then cooked them for about 5 minutes on each side until they start to become golden brown.
Lamb rack, French Trimmed
This would be a great recipe to do with the cauliflower as it also can be cooked on the back of the plate setter (or a ceramic plancha).
Again we setup the Egg in an indirect configuration with the plate setter feet down. We set the temperature of the Egg to 180-200°C.
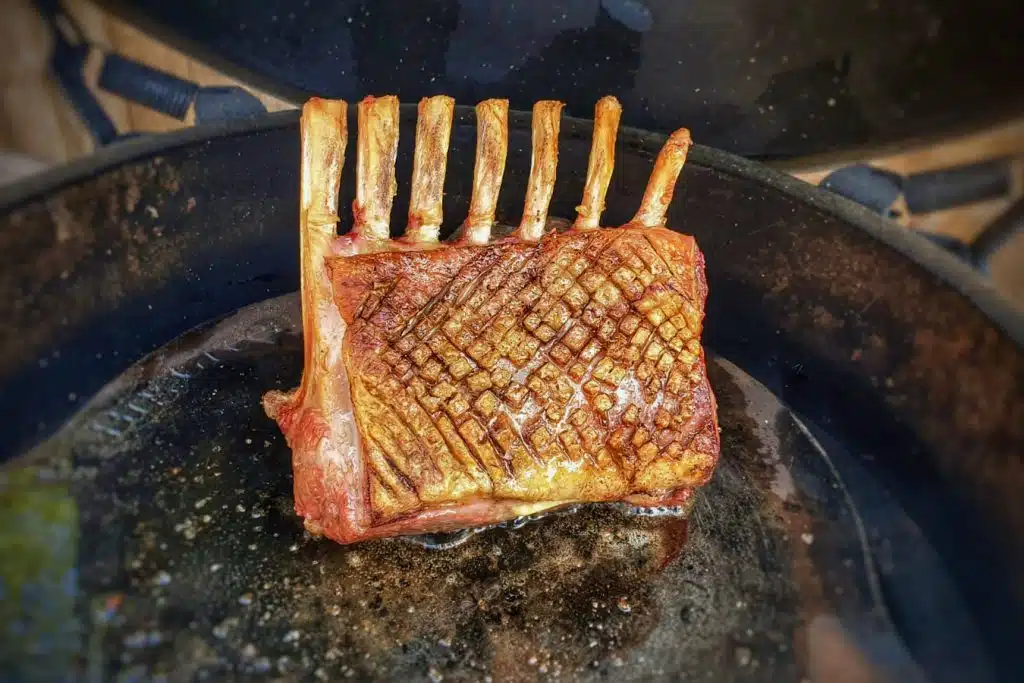
I scored the fat of the lamb rack in a diagonal pattern with the scoring about 3/4 cm apart. I then added a tiny bit of oil and generously seasoned the lamb with maldon salt.
I then cooked this directly on the plate setter, fat side down for about 15 minutes. We used the Thermopen to probe the lamb again to check it was medium, around 58°C.
Dirty Lamb Chops
I haven’t yet published a recipe for this.
Here I cut the lamb into rib a sections of 2-3 ribs. What we’re looking for is about 2 inches in length.
We setup the Egg at 250°C with no cooking surfaces. Just before we cooked the lamb, we raked the charcoal to knock off some of the ash.
I oiled and salted the lamb before putting it directly onto the charcoal. These were then cooked for about 3 minutes each side, taken off and rested in foil for about 5 minutes.
Dirty Pork Steaks
I haven’t yet published a recipe for this on my website.
This recipe is great with pork rib-eye’s if you can get hold of them. We talked about Dingley Dell and the aged pork they are producing. There are a limited number of butchers in the UK that supply Dingley Dell pork, search them out as it is really superb. If you can get the aged pork then it’s worth the extra few pounds.
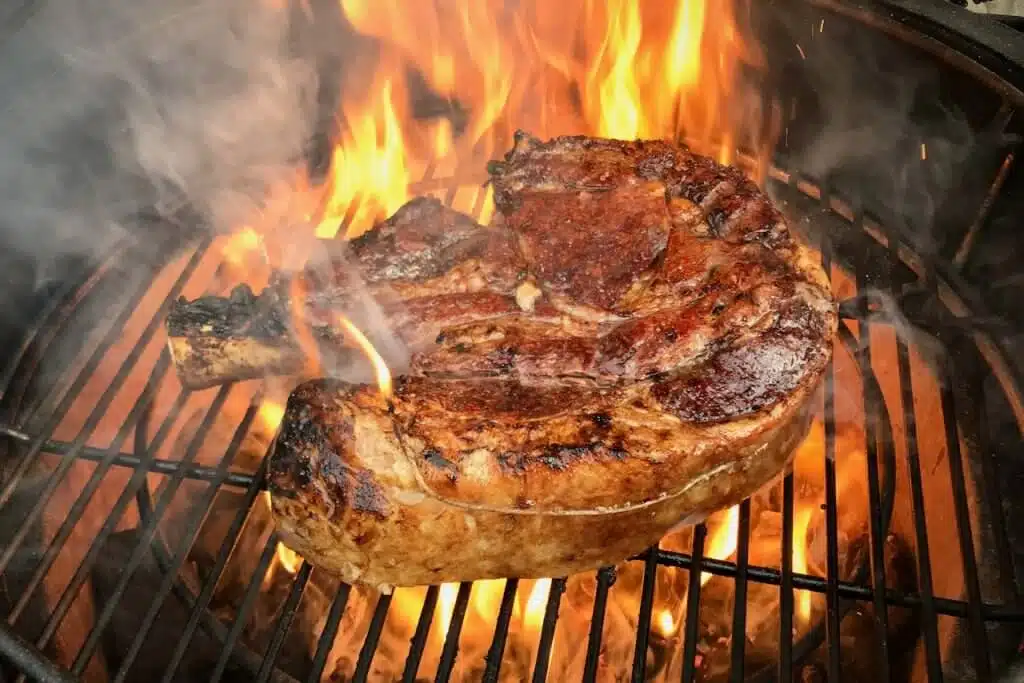
To cook dirty we get the coals going well. We then knock the ask off the coals and get you Big Green Egg to 250°C to 300°C. Prepare the pork by just adding some salt and then putting directly onto the coals. Cook the pork for about 3 minutes a side or until the feel meets that of when you touch your thumb to one of you fingers when you squeeze the base of your thumb. Use your index finger for rare, your middle finger for medium and the next finger for well done.
Once cooked on both sides take off your steak and rest wrapped in foil. Wrap pieces of meat separately otherwise they will continue to cook each other.
My dirty steak recipe is at: http://meatsmokefire.co.uk/recipes/beef/dirty-steak/
Focaccia
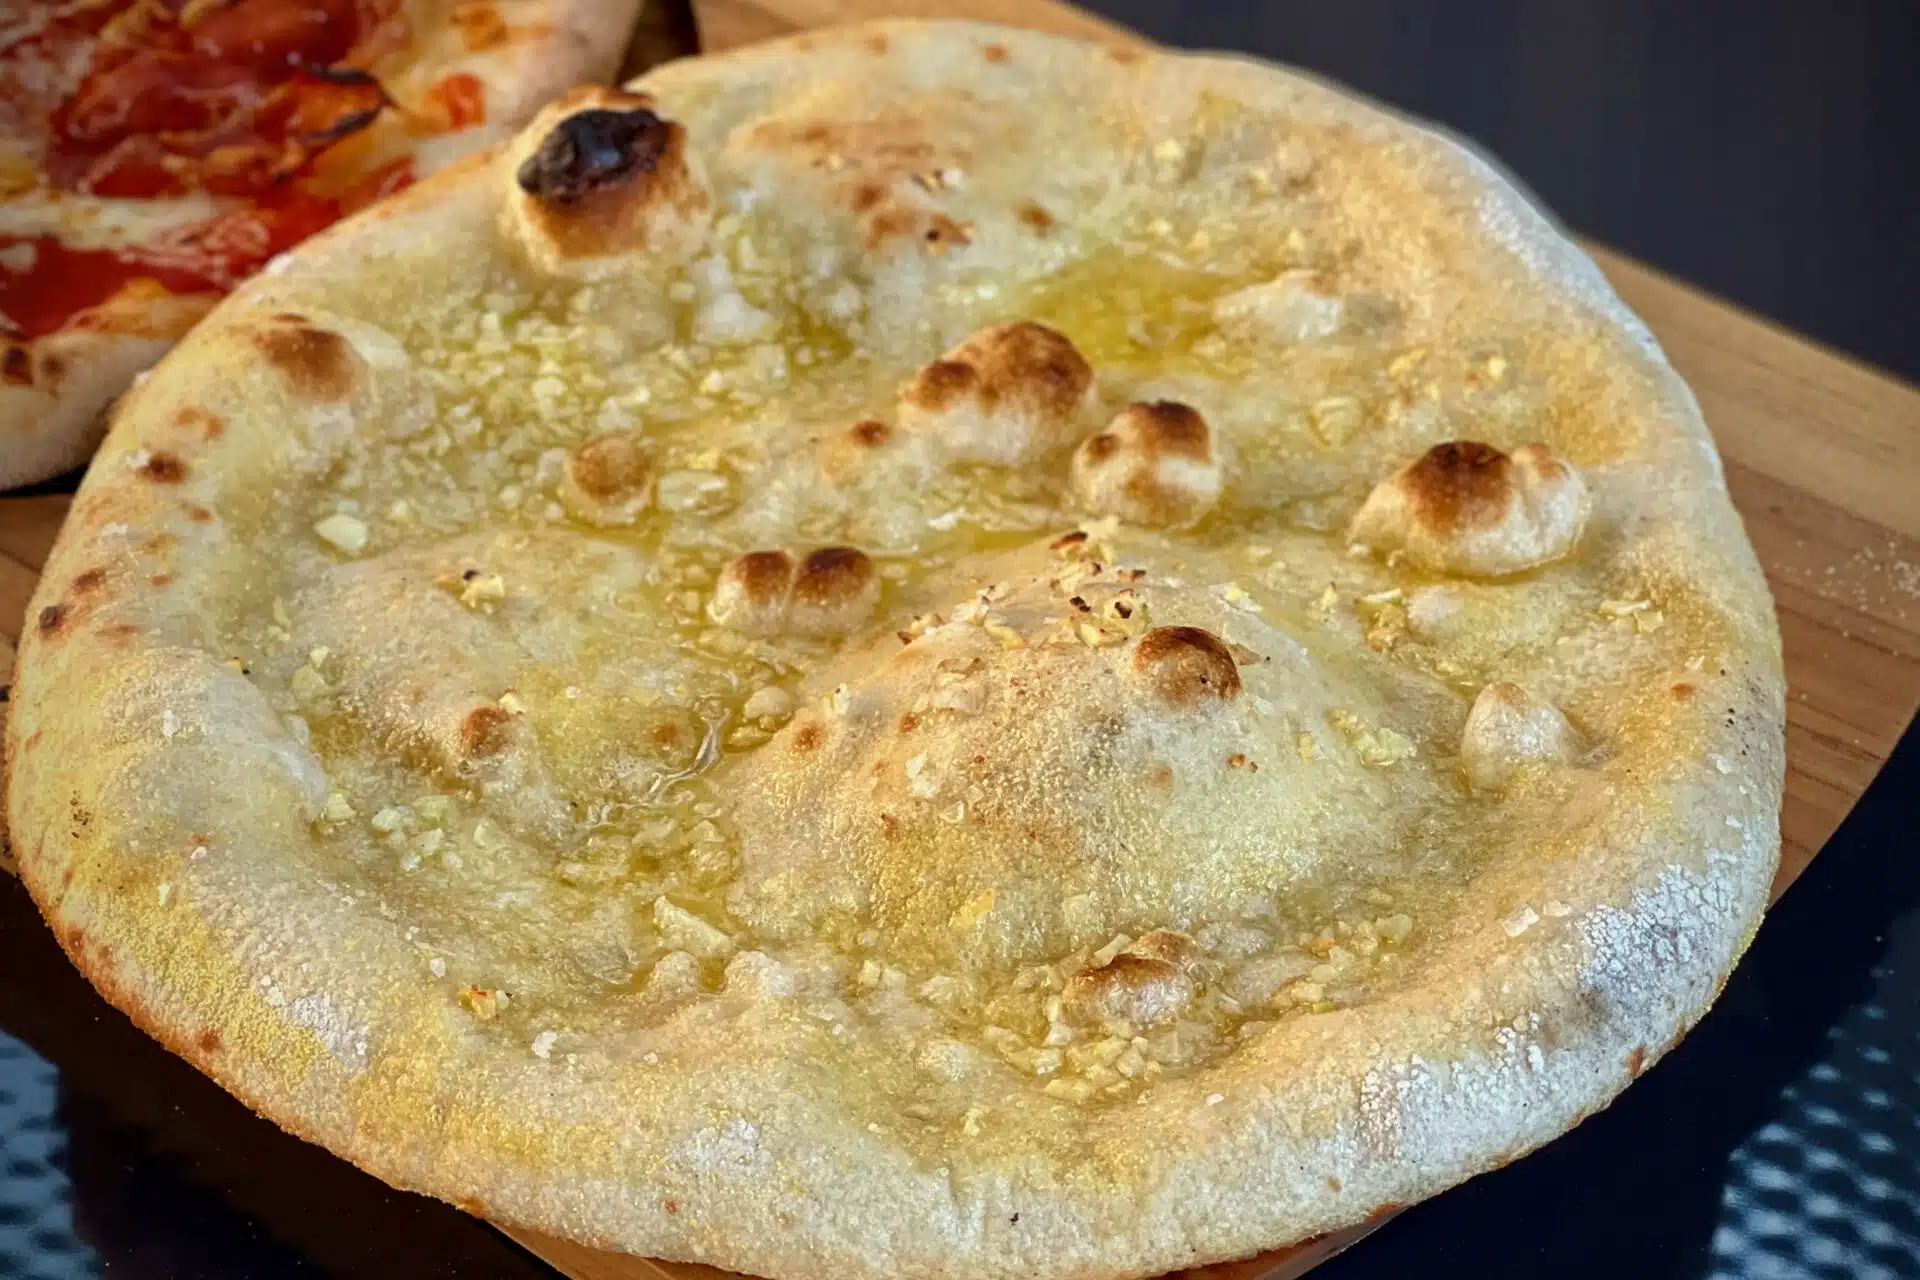
This Italian bread is really simple to make and an easy first go at baking on the Egg.
Make a batch of my basic bread recipe and let it rise. Knock it back and split into two portions. Push out each of these dough balls into the bottom of a 30cm x 20cm baking pan, lightly oil the top and cover with cling film. Put to one side to allow it to rise again.
When ready poke it with your fingers to put in the dimples. Drizzle generously with olive oil and sprinkle with salt and herbs (we use rosemary).
Setup your Egg for an indirect cook with the plate setter feet up, stainless steel grid on top and the baking/pizza stone on top of that. Get your Egg to 220°C and give the baking stone a while to heat up (we didn’t leave it long enough).
Cook your focaccia in the tin on the baking stone for about 15 minutes until it’s both golden brown on the top, but also crunchy on the bottom. Allow it to cool on a wire rack before serving.
Planked Salmon
The plank is designed to smoulder while the salmon roasts on top of it, taking on the wood flavour as it cooks.
Soak the planks in water for at least 1 hour before you use them. You can also soak them in other liquids such as:
- Beer, lager or cider.
- A dilution on circus juice.
Get your Egg to 180°C in a direct setup with just the stainless or cast iron grids. Dry the side of the plank you will put the fish onto for about a minute by placing in cooking side down on the Egg.
Take your salmon fillets and place them skin side down onto the plank. Use the grill gripper to move the plank onto the Egg. I put a slice of lemon onto the salmon to show the smoke, not to add flavour. It looks pretty though.
Cook until the salmon has firmed up enough to show it is cooked (about 8-10 mins). Take off the plank with the grill grippers and put onto something heat proof.
Smoked Chocolate Brownie
The recipe is on my other site, www.nicwilliams.com.
Cooking desserts on the Egg is a real treat. I’ve cooked apple strudel, christmas cake, pancakes, cookies, biscotti and several other deserts. Just give them a go.
For the brownie we cooked it at 160°C on the baking stone, set on the stainless grid on the plate setter (feet up). I used a silicon baking tin, just be careful using these as silicon will melt at 240°C. A metal tin with baking parchment works very well too and is a lot safer.
I actually overcooked the brownie slightly, it should be cooked until is has a slight wobble still as it will set as it cools.
Technique
What temperature should I cook at?
The following chart shows meat cooking temperatures depending on your cut of meat and your preferred level of cook:

Cooking temp guide from AmazingRibs.com
Rest your meat
Always remember to rest your meat after cooking it. This give the structure time to relax and reabsorb moisture. It will make your meat taste far more tender and juicy.
For joints of meat the best way to rest them is to wrap them in foil, then wrap them in towels and put them into a good quality cool box. I use an Igloo cool box from the US. If you’ve got a contact on a US base then get them to get it for you, you’ll save a fortune. I’ve rested 13Kg’s of pork for 10 hours in my box and it was still piping hot.
Seasoning
I alway use a lot of salt when cooking. Most of it will fall off the food as you cook with it so you can be generous.
You’ll very rarely see me use pepper before a cook though. This is because it can burn easily and become bitter. I’d much rather use pepper after a cook. I would never pepper a steak before a cook as you’re going to cook the steak over a high heat and the pepper would definitely burn.
The Stall
We talked about cooking some of the tougher and cheaper cuts by cooking them low and slow. Most of these are cooked at 110°C for extended periods of time. I gave the example of a pork shoulder for pulled pork that I cook normally for around 19 hours and then rest for a further 4 hours.
When cooking larger pieces of meat the temperature will rise but then stall (or plateau) as the outer layers of the meat dry out. There is an excellent article on this on the Amazingribs.com site.
The green line on the graph below shows the process but this is on a rack of beef short ribs.
The stall can be shortened by wrapping your food in foil. You’ll see this referred to as a Texas Crutch. This traps in the moisture and steams the meat as it cooks.
Items to consider buying
Thermapen
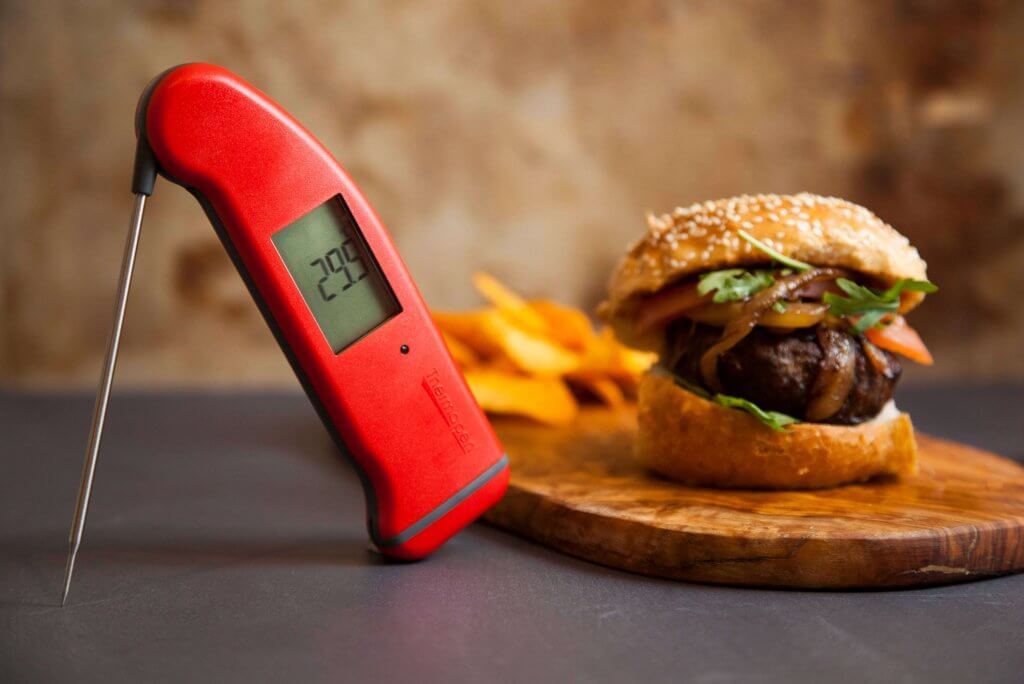
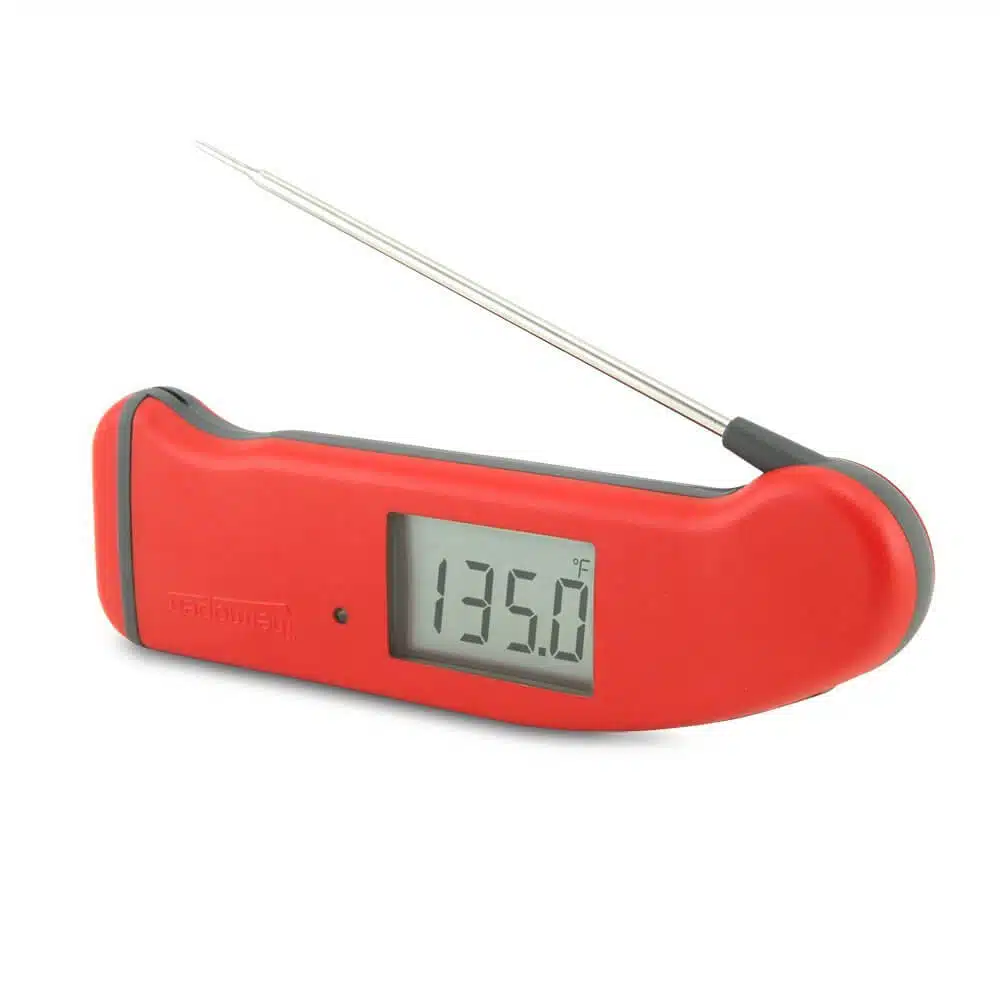
The Thermapen is my handheld thermometer of choice. It’s probably one of the quickest reacting thermometers on the market. The latest version (Version 4) has a backlit screen that also turns to the orientation you are holding the thermometer making it really easy to read.
Wireless Thermometer
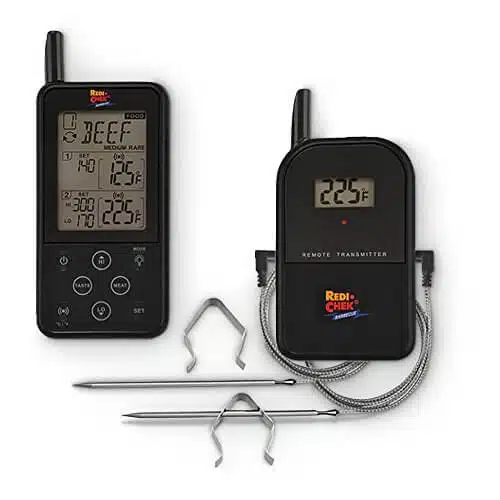
Great for monitoring both the temperature of your Egg and the meat. We use mine to cook the picanha. The model I have is the Maverick 732 and I like it.
There is now a Maverick 733 which has more functionality.
Both require reading the instructions. If you’re going to use the alarms, set them at a suitable offset when monitoring the Egg temperature or prepare for a sleepless night.
Pro Q Cold Smoke Generator
The Pro Q Cold Smoke Generator allows you to cold smoke cured meats, fish, butter, cheese and salts as well as many other items. I use mine after curing bacon or salmon.

HeaterMeter
The HeaterMeter is the device I showed you that I had made. It allows you to control your Egg to within a degree or two and monitor and control it from any web browser.
You can make you own or get details on it by reading the site at http://www.heatermeter.com. I’ve made 3 of them and all worked first time. They use a Raspberry Pi as the controller as well as some other circuitry you need to put together.

Silicon Gloves
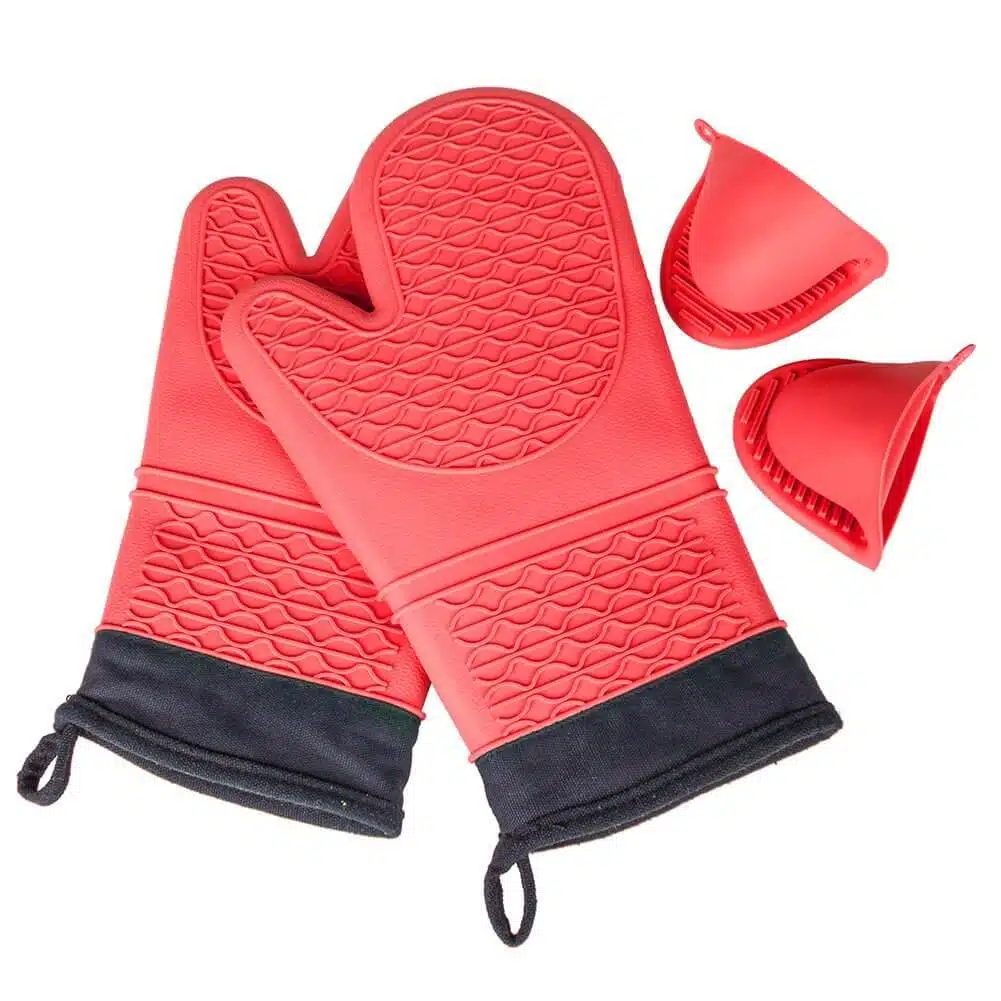
These are pretty much the same as the ones sold by many of the big companies. I’ve used cheaper ones and they have been fine.
