British Grass-fed Brisket
American barbecue, from the south, developed around turning the cheaper cuts of meat into delicious meals. The king of all the barbecue dishes is brisket which is usually slow cooked until it is super tender, then sliced. You’ll often be served brisket with other cheaper pieces of meat and sides of slaw, cornbread, pit beans and mac’n’cheese.
It’s taken me a long time to make a success of brisket. It’s one of the hardest cooks to get right but it doesn’t have to be. Treat it gently and cook it with the right equipment to help you, and you will make a success of it.
Make sure you read the notes that go with this cook, not just the recipe, it’ll give you an insight into the science of what is going on during this cook, it’s important you understand this as it will help you make a success of your cook.
Cooking surfaces


BBQ Temperature

Ingredients
- 1 British grass-fed brisket (at least 3Kg but preferably around 5Kg).
- Frenches American mustard
- 1/4 cup Maldon Salt
- 1/4 cup course black pepper
Equipment
- Meater+ Wireless Thermometer or Big Green Egg Genius
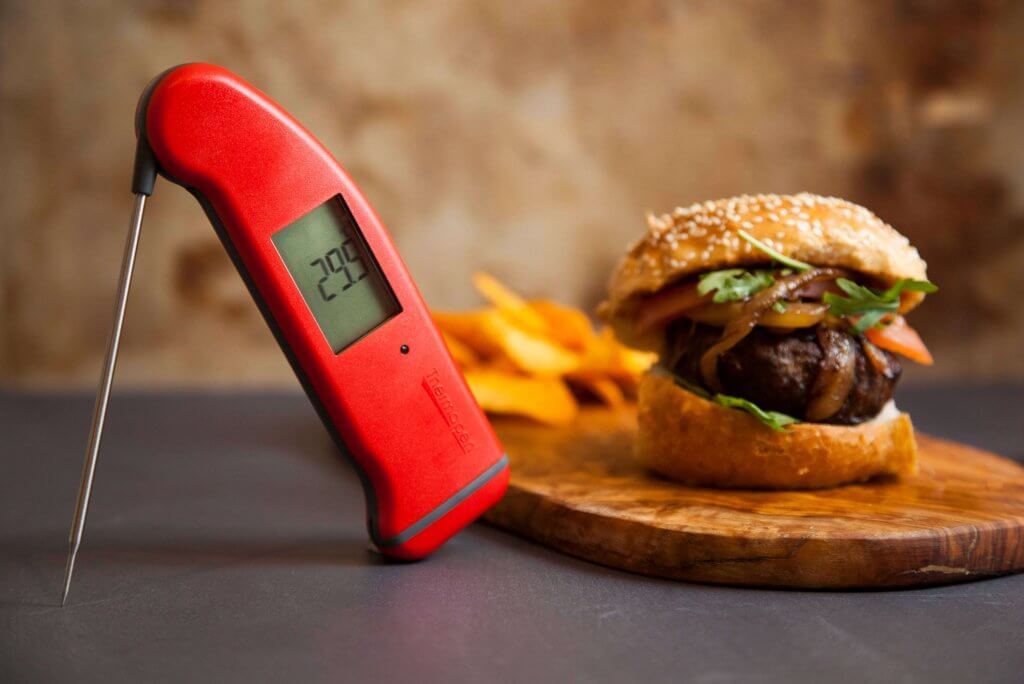
- Thermapen Professional
- Pink butchers paper
Optional Equipment
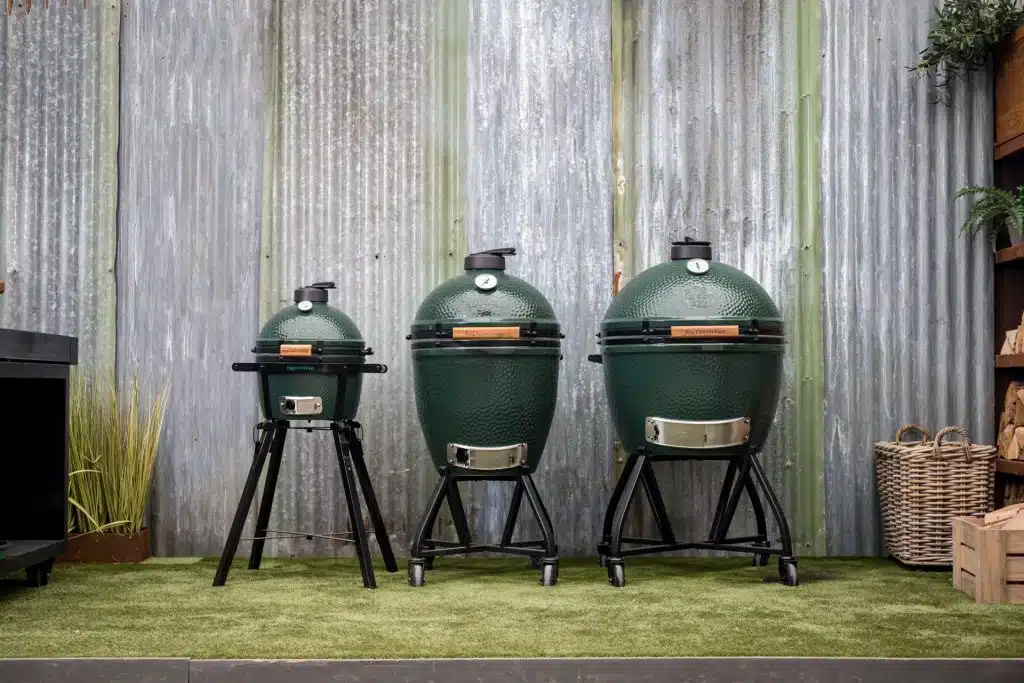
The easiest way to maintain the temperature of your Egg is with a forced air controller. Big Green Egg make the EGG Genius which is a great way of controlling any sized Egg from MiniMax to XL.
Method
- Get you butcher to trim some, but not all of the fat from your brisket. I like to keep a good layer, it will help keep your brisket moist and it tastes amazing.
- Rub your brisket all over with Frenches Yellow Mustard. You wont taste this but it acts as a great binding agent for the salt and pepper we are going to add.
- In a bowl mix your salt and pepper together.
- Now liberally sprinkle the salt and pepper mix all over your brisket. Try and make sure you get it on all the edges too (unlike my photo).
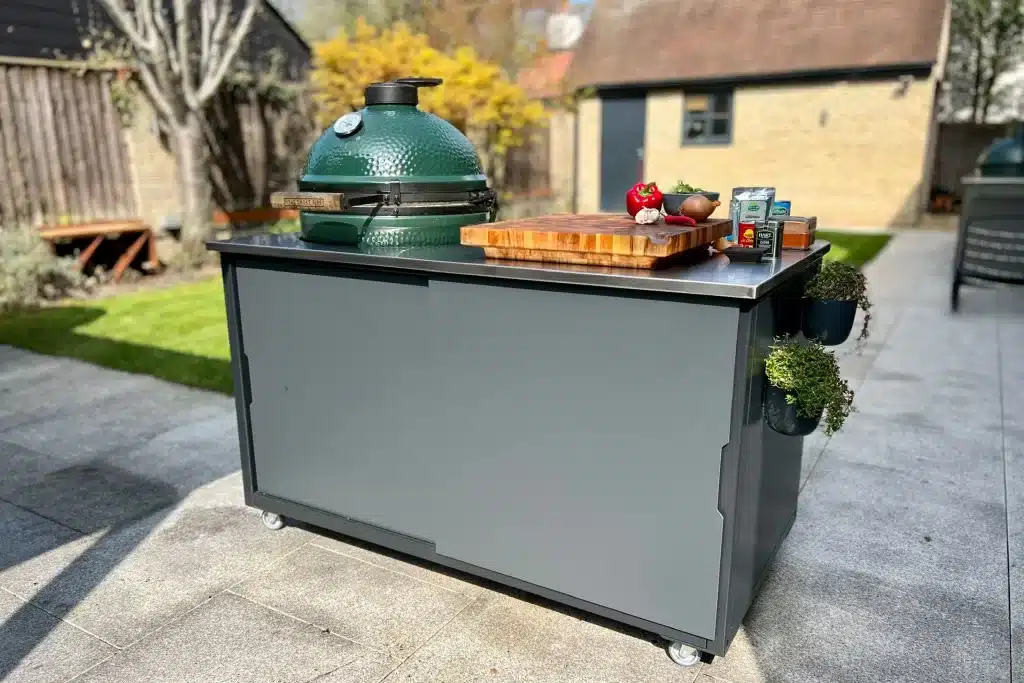
- Setup your Egg for an indirect cook with the stainless steel grid above your ConvEGGtor. I now use the EGGspander system as it make lifting all of this in and out so much easier.
- Set the Egg to cook at 110°C. Make sure the temperature is stable and your ConvEGGtor has had time to warm up.
- When you’re ready to cook, lift out the ConvEGGtor and place a couple of wood chunks into the middle of the charcoal (see notes as to what the middle). Not put the ConvEGGtor back in and place the stainless grid on top.
- Place your brisket into the EGG making sure it’s not overhanging the gaps where the heat rises around the plate setter. Also make sure it’s not touching a thermometer of a controller if your using one, you want it to be measuring the BBQ temperature and not the temperature of the meat.
- Close the lid and walk away. The temp of your EGG will drop, after all you’ve just put a big cold slab of meat in there. No need for adjustments, the EGG will recover its temperature.
- Your briskets internal temperature is going to start to rise. You’ll see it start slowing down though as it approaches somewhere around 75°C. At this point you’re going into the stall, don’t panic, take the time to read the notes below. Definitely don’t adjust your EGG temp, leave it at 110°C.
- Once the brisket temp start rising, say by 3°C or so, it’s the time to wrap you brisket in pink butcher paper. Don’t use foil or greaseproof paper, you just wont get the same results, I know, I’ve made the mistakes. I normally wrap it twice (two layers thick).
- Now leave your brisket to heat all the way up to 95°C.
- When it’s reached 95°C, use a Thermapen to probe and check both the temperature of your brisket all over, but also how easily the probe slides into the meat. You’re looking for it to probe with not much resistance. If you find you’re getting resistance, wrap it back up and cook it for another hour or so.
- Once it probes softly, it’s time to rest your brisket. I do this by wrapping in foil, then wrapping in some old bath towels and put the whole lot into a cool box. This will keep it how for hours. I like a rest of a minimum of 2 hours.
- And finally you can now serve it.

Notes
The stall explained
When you are cooking large chunks of meat low and slow (EGG at 110°C), the internal temperature of the meat will rise and then start to slow down. At between 65°C and 75°C the meat temperature may even stop rising and even fall. This is the time not to panic. Don't go turning up the temperature of your EGG, you'll ruin the food.
What's happening in the stall is the outer layers of the meat are starting to dry out. As that liquid is evaporating, it's cooling down the rest of the meat. It's a bit like us on a sunny day, we perspire. It's our body's mechanism to cool us down. The evaporating perspiration cools us. With a piece of meat, the evaporation will hold the temperature of the meat in 'the stall' or 'the plateau' until the rate of evaporation lowers, at which point the meat temp will start to rise again.
You can see on the graph below the meat almost stalling (this piece of brisket had been nicely hung so was relatively dry). Then between 6am and 9am on this graph, I wrapped the meat and look how quickly it starts to rise again (the big red spike is the temperature of the EGG dropping as I open it to wrap the meat).
I then leave it until about 1pm before I probe it and decide it needs some more. I'm eventually happy with it around 2:30pm.
The yellow line is the brisket temperature, You'll see it put it on about 7:30pm. That's a 19 hour cook. This brisket was just under 5Kg.

Using Smoking Chunks and Chips
Smoking chunks and chips can be used to enhance the flavour of a cook. However I would advice you to use them sparingly. Some people don't even use them at all, just leaving the cook to take its smoky flavour from the charcoal itself.
Meat will take on the smokey flavour much better when it is cold and wet. The surface of the meat will be sticky when it's moist, attracting smoke particles to stick. Therefore you want to be smoking your meat when it is at the start of the cook so place the smoking chips and chunks where they will burn at the start of the cook.
